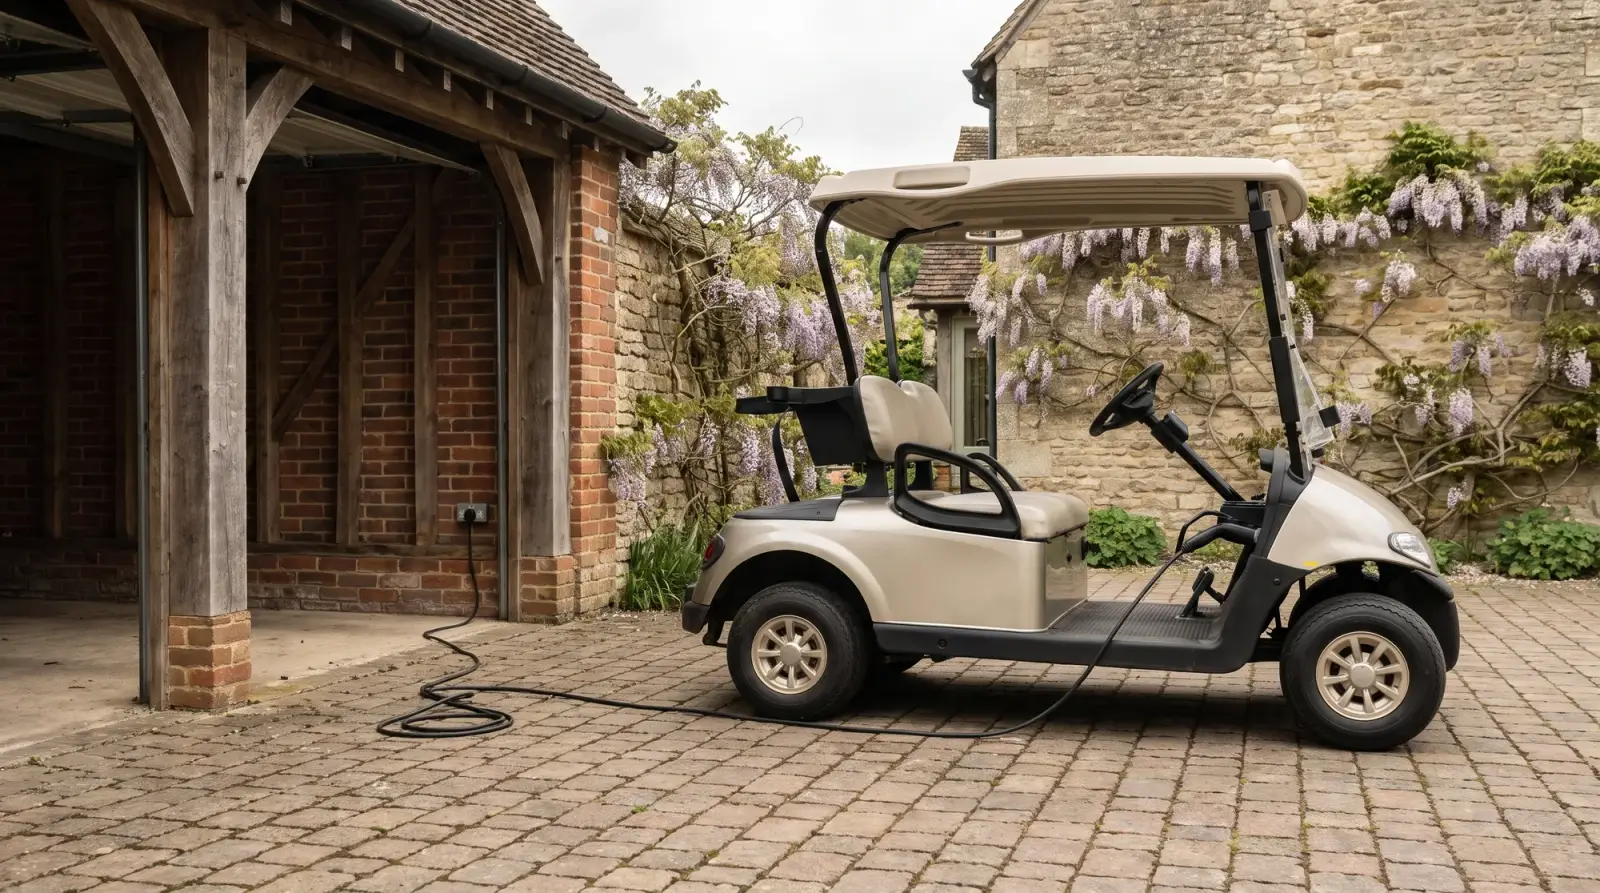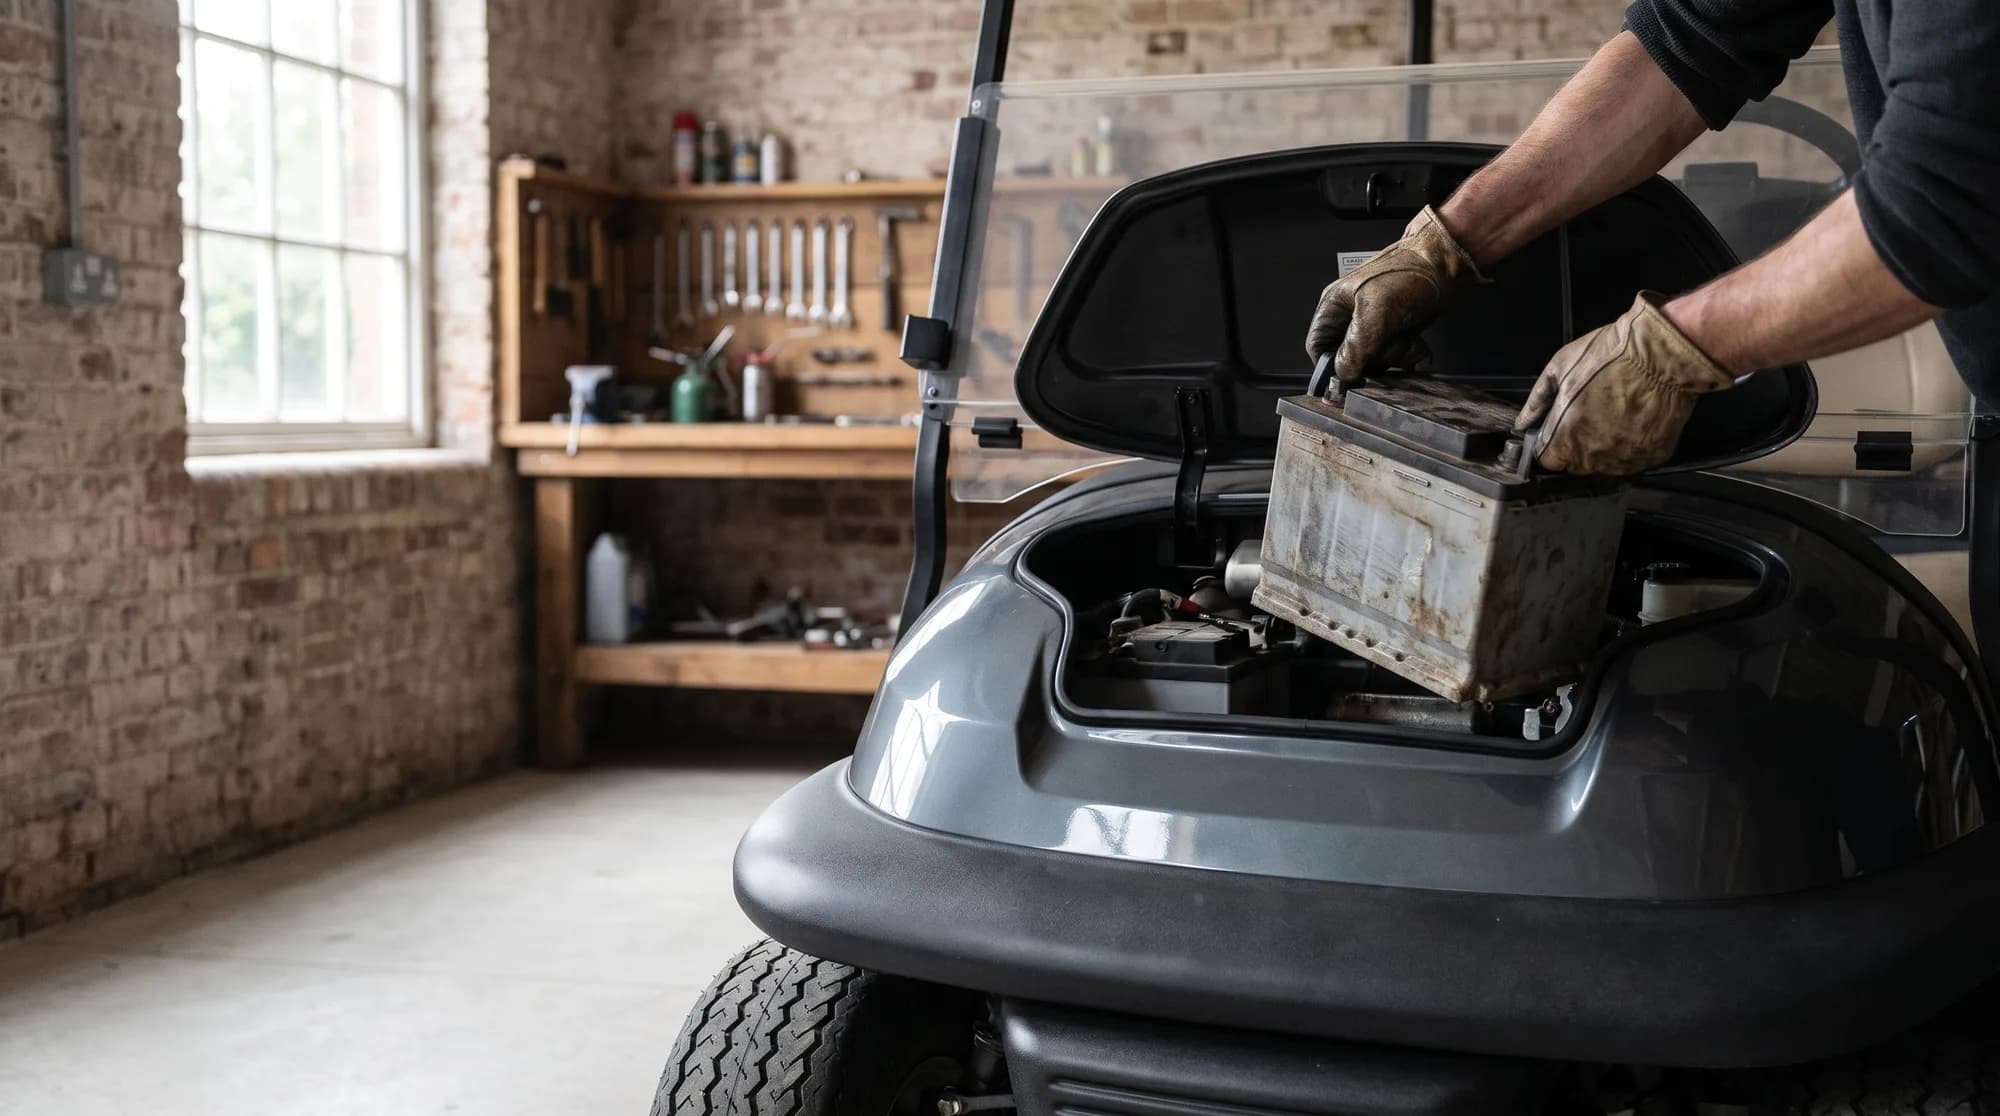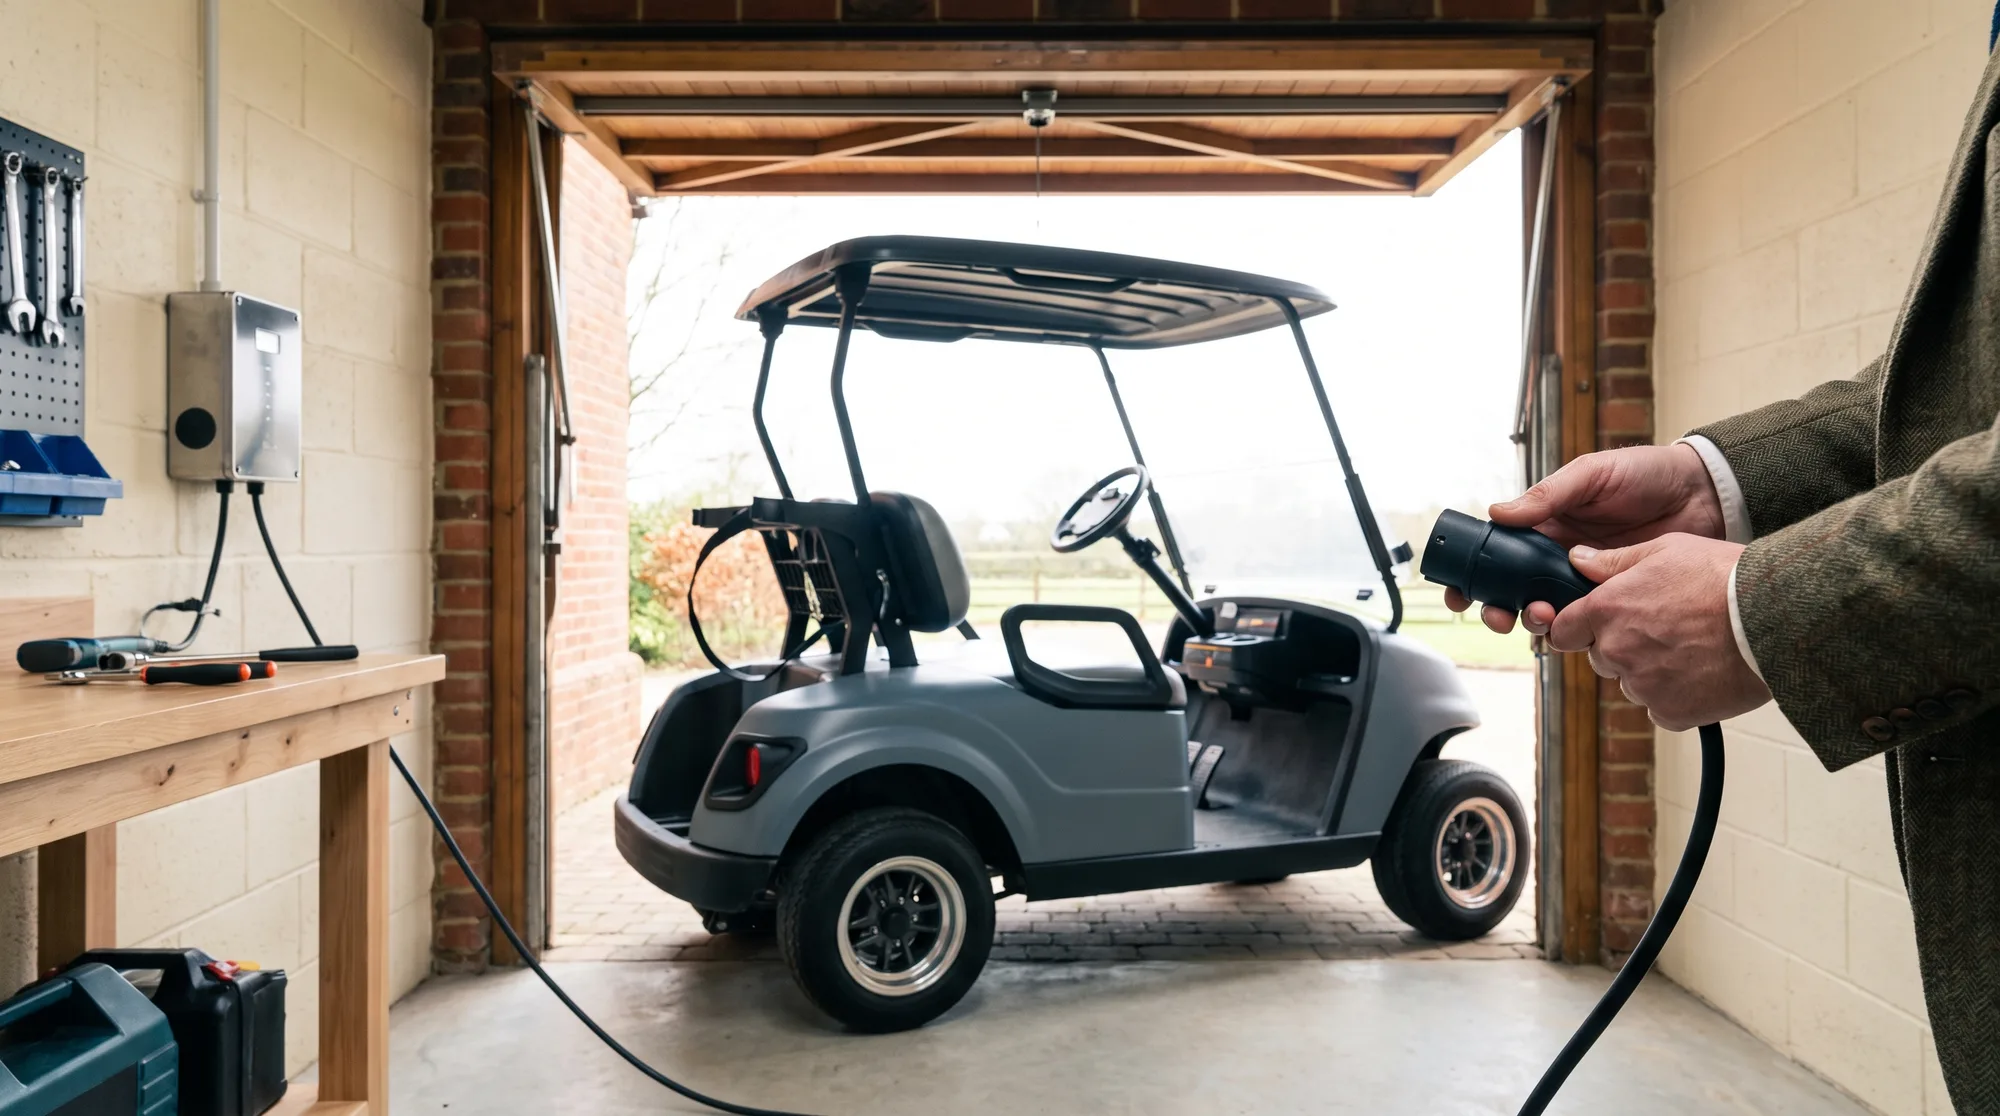
If your golf buggy charger isn't working, start at the wall socket and work towards the batteries. Most charging faults turn out to be a dead socket, a blown fuse in the plug, or a battery pack so flat that the charger refuses to recognise it, and you can rule out all three in under ten minutes without any tools.
The order matters. Chargers get blamed for a lot of failures they didn't cause, and replacing one at £150 to £400 only to discover the real culprit was a £1 plug fuse is a miserable way to spend a Saturday. Work through the checks below in sequence. You'll either fix the fault yourself or know exactly what to tell the engineer, which cuts the repair bill either way.
- Check the mains side first: test the socket with a lamp or kettle and look for a tripped RCD on the fuse board before you touch the buggy.
- Many lead-acid chargers will not start on a deeply discharged pack. Below a minimum voltage the charger reads the batteries as disconnected and stays off.
- Lithium buggies can lock the pack out through the battery management system after a deep discharge or very cold storage. That's protection working, not a fault.
- Never open a charger casing. It connects 230V mains to a large battery bank, and the capacitors inside hold charge after you unplug it.
- If the charger clicks or hums with no output, or the fault survives all seven checks, stop and book an engineer.
Two safety rules before you touch anything
A buggy charger is one of the few pieces of kit in your shed that connects mains electricity to a big bank of stored energy. Treat both ends with respect. You can safely check sockets, fuses, leads and connections. You should not go beyond that.
The seven checks, in order
Don't skip ahead. Each check rules out the cheapest and most common cause before you move to the next one.
- 01
Test the socket and the fuse board
Plug a lamp or kettle into the same socket. If it's dead, check the consumer unit for a tripped RCD or breaker. Garage and outbuilding sockets often sit on their own circuit, and winter damp trips them constantly. Reset it once; if it trips again immediately, the circuit has a fault and needs an electrician, not a reset ritual.
- 02
Check the lead and the fuse in the plug
UK chargers usually carry a 5A or 13A fuse in the plug. Swap it for a known good one of the same rating. While you're there, run the whole lead through your hands looking for rodent damage, crush marks from being driven over, or a scorched plug. Damaged leads should be replaced, not taped.
- 03
Inspect the connections at the buggy inlet
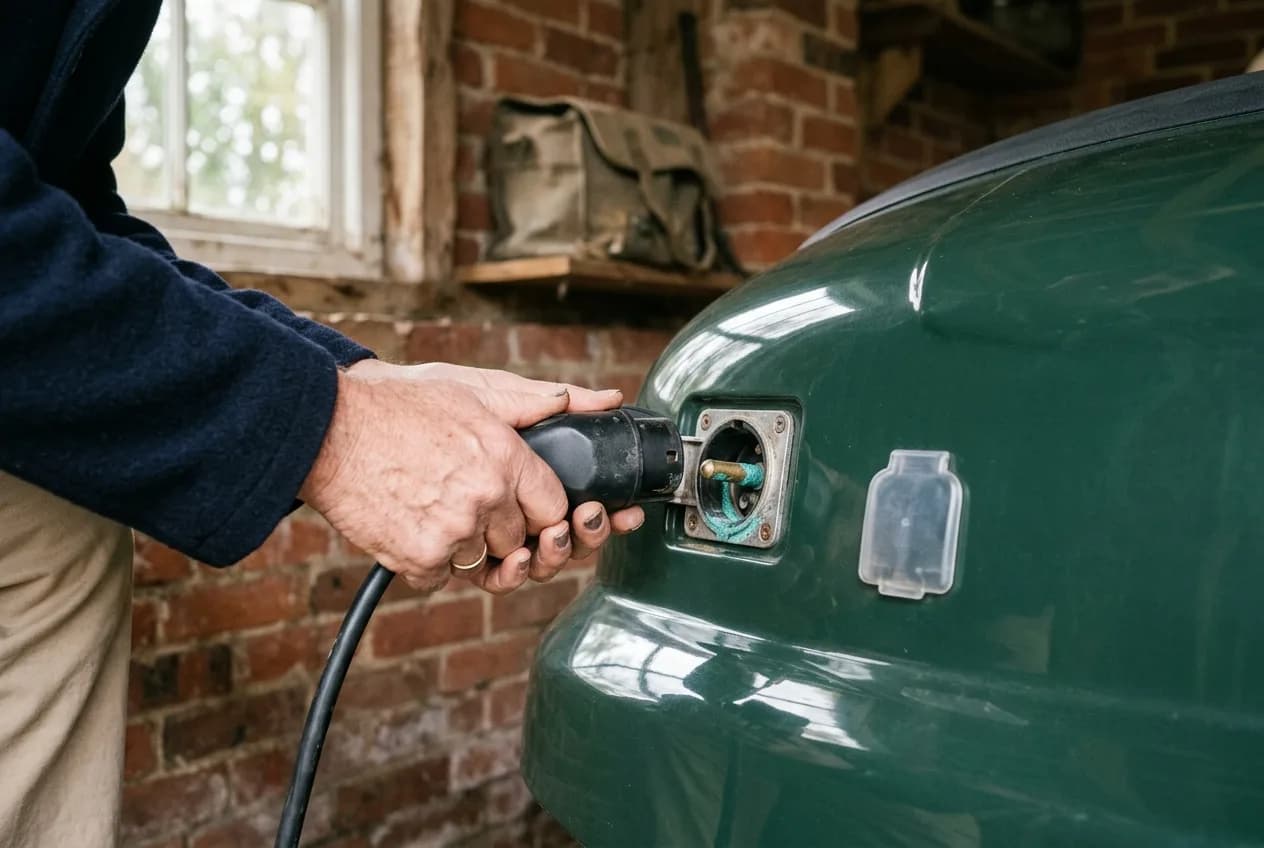
Pull the charge plug out and look at both halves. Green or white powder means corrosion; bent or blackened pins mean a poor contact that's been arcing. Clean corroded contacts with electrical contact cleaner and a soft brush. If charging starts when you wiggle the plug, the connector is your fault and it will only get worse.
- 04
Rule out the flat-pack trap
This one catches out more owners than any other. Most lead-acid chargers need to see a minimum voltage from the pack before they'll switch on, often somewhere around 35 to 40 volts on a 48V system. A pack that's been left flat for months can sit below that threshold, so the charger reads it as disconnected and does precisely nothing. The batteries look dead, the charger looks dead, and both may be fine. The fix is a controlled low-current lift from a bench supply, which is an engineer's job. Avoid the online tricks involving jump leads from another pack; the current is uncontrolled and the failure modes are ugly.
- 05
Consider lithium BMS lockout
Lithium packs have a battery management system (BMS), a circuit that disconnects the cells to protect them. It will lock the pack out after a deep discharge, and most will also refuse to accept charge below about 0°C. A buggy that sat flat or frozen in an unheated shed can appear completely dead as a result. Some packs self-recover once warmed and connected to the correct charger. Others need a dealer reset, so don't condemn the pack until it's been checked.
- 06
Look for handshake faults on newer models
Modern buggies and chargers talk to each other before any current flows, through an interlock or a data line. If that conversation fails, the charger sits there refusing to start even though both ends are healthy. Look for a blinking LED pattern or a fault code and check it against the chart in your manual. A failed interlock switch or a damaged signal pin can block charging on its own.
- 07
Test the charger itself
If everything upstream checks out, suspicion finally lands on the charger. Classic symptoms are a relay that clicks with no charge delivered, a dead display, or a cooling fan that never runs. If you're competent with a multimeter, measure the DC voltage across the output with the charger on; a healthy 48V charger should show comfortably above pack voltage, typically in the mid-50s. No output means the charger has failed. If you're not confident doing that, don't guess. Book it in.
Why won't a charger charge a completely flat battery?
It feels like a design flaw, but it's deliberate. A pack showing almost no voltage could be deeply discharged, or it could be shorted, reversed or physically damaged. The charger can't tell the difference, so it plays safe and stays off rather than pump current into a possible fault. That's also why the cheapest insurance you can buy is a routine top-up: a monthly charge over winter keeps the pack above the wake-up threshold and costs pennies. Our guide to winter battery care covers the routine, and if your setup is the problem, charging a buggy at home explains what a proper supply looks like.
Is it the charger or the batteries?
The two get confused constantly because the symptoms overlap. This table separates them by what you actually see.
- Most likely cause
- Dead socket, blown plug fuse or damaged lead
- DIY or engineer?
- DIY
- Most likely cause
- Pack below wake-up voltage, or a failed charger
- DIY or engineer?
- Engineer
- Most likely cause
- Corroded inlet connections or a failing battery
- DIY or engineer?
- DIY clean first, then engineer
- Most likely cause
- Ageing batteries, not the charger
- DIY or engineer?
- Engineer (load test)
- Most likely cause
- BMS protection lockout
- DIY or engineer?
- Engineer or dealer reset
| Most likely cause | DIY or engineer? | |
|---|---|---|
| No lights, no fan, nothing | Dead socket, blown plug fuse or damaged lead | DIY |
| Clicks or hums, never charges | Pack below wake-up voltage, or a failed charger | Engineer |
| Starts, then cuts out | Corroded inlet connections or a failing battery | DIY clean first, then engineer |
| Charges but never finishes | Ageing batteries, not the charger | Engineer (load test) |
| Lithium buggy, completely dead | BMS protection lockout | Engineer or dealer reset |
When to stop DIYing
The dividing line is simple. Sockets, plug fuses, leads and cleaning corroded contacts are all fair game for any owner. Everything beyond that involves either mains voltage, a battery bank capable of delivering enormous current, or diagnostics that need proper test gear. Waking a deeply discharged pack, resetting a locked BMS, tracing a handshake fault and repairing a charger are all engineer jobs, and a decent one will also load test your batteries while they're there, which tells you whether the pack is worth keeping. A charger fault is often the first symptom of a tired pack rather than a fault in its own right; our guide to common golf buggy faults covers how the two tangle together.
One more reason not to keep poking at it: repeated failed charge attempts on a badly sulphated lead-acid pack, or on a locked lithium pack with the wrong charger, can turn a recoverable problem into a dead one. Ten minutes of checks, then a phone call. That's the right amount of DIY.
Frequently asked questions
Why won't my golf buggy charger turn on?+
Usually the mains side: a dead socket, a tripped RCD or a blown fuse in the plug. Test the socket with another appliance and swap the plug fuse before suspecting the charger. If the mains side is fine, a deeply discharged pack is the next most likely cause, because many chargers won't start below a minimum battery voltage.
Why won't a charger charge a completely flat battery?+
It's a safety feature. A pack showing near-zero volts could be shorted or damaged, so the charger refuses to send current into it. A genuinely flat but healthy pack needs a controlled low-current lift from an engineer's bench supply to bring it back above the charger's wake-up threshold.
How do I test a golf buggy charger?+
If you're competent with a multimeter, measure the DC voltage across the charger output while it's switched on. A healthy 48V charger typically shows output in the mid-50s. No output with the mains side confirmed good means the charger has failed. If you're not confident around mains and battery banks, have an engineer test it.
Can I use any 48V charger on my buggy?+
No. Voltage matching isn't enough; the charge profile must suit your battery chemistry, and lead-acid and lithium profiles are very different. Newer buggies also require a handshake between charger and vehicle, so a generic unit may simply refuse to start. Use the manufacturer's charger or a replacement specified for your exact pack.
How long should a golf buggy charger last?+
As a rough guide, eight to twelve years with reasonable care. Heat is the main killer, so keep the vents clear and don't run it buried under covers or against a wall. A charger that lives in a damp shed and gets driven over occasionally will not see eight years.
Spend ten minutes on checks one to three, treat check four as the prime suspect if the buggy sat unused over winter, and then hand it over. The most expensive charger faults we see are the ones that were actually battery faults, left to fester while a perfectly good charger got replaced.
Charger still dead? Get an engineer on it
Hawke service plans include diagnostics, battery load testing and a 24-hour call-out line, with engineers who carry test chargers on the van. Stop guessing and get it fixed properly.
Related solutions
Ready to explore what we build?
See the vehicles and the setting this applies to, or get a tailored quote built around your site.

Ready to find the right buggy?
Tell us how and where it will work and we will specify a vehicle and a tailored quote built around you. Every build comes with a 3-year warranty and a 24-hour priority call-out.
Our guides are written and reviewed by the Hawke Electric Vehicles team, the people who specify, build, deliver and support the vehicles. We focus on honest, practical advice and flag where a figure depends on the build rather than guessing.
More guides by Hawke